While quite inexpensive, you should aim to get the most out of your sublimation paper printing. By creating a document ready for print and “nesting” or “ganging” as many images as possible onto the sheet. In this short article we will look to explain how this works.
Depending on what size sublimation paper that you are using will determine the size of the “canvas” that will be the area that you lay the print items on to maximise usage of paper. The most common sizes in smaller printers (A4) are A4 and US Legal. A4 is 210mm x 297mm and US Legal is 216mm x 356mm. All A4 printers should be able to utilise US Legal, this allows for a wider print and full coverage of a 20oz tumbler.
NOTE: We DO NOT recommend printing borderless, printers that print borderless or when you trick them to, never align to the paper perfectly, leaving ink and spatters of ink on the pizza wheel guides which will cause problems later.
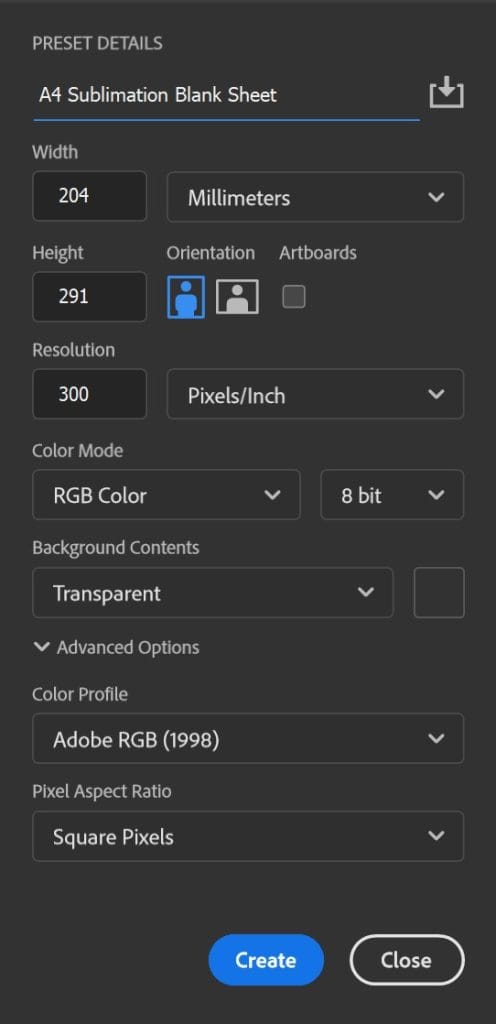
You should always look to have a 3mm border (area to allow for mis alignment of paper). On A4 the maximum print size you should use if 204mm x 291mm, US Legal is 210mm x 350mm, paper size les 3mm per side, this also works for A3 A3+ and other size paper.
Create a document in your graphic design program, for example photoshop, set the size of the document (canvas) to the required size, for this example we will use A4. So 204mm x 291mm. Make sure the document is designed at 300DPI and the input colour profile selected as Adobe RGB (1998), this colour profile is the best for converting RGB images to CMYK printing and is the international standard for printing.

NOTE: Many people make the mistake of designing with the input profile set to Srgb IEC61966-2.1, this profile is for screen display and the international standard for screen display, your colours will be affected by using this as your input colour profile (Nothing to do with your output colour profile for your printer).
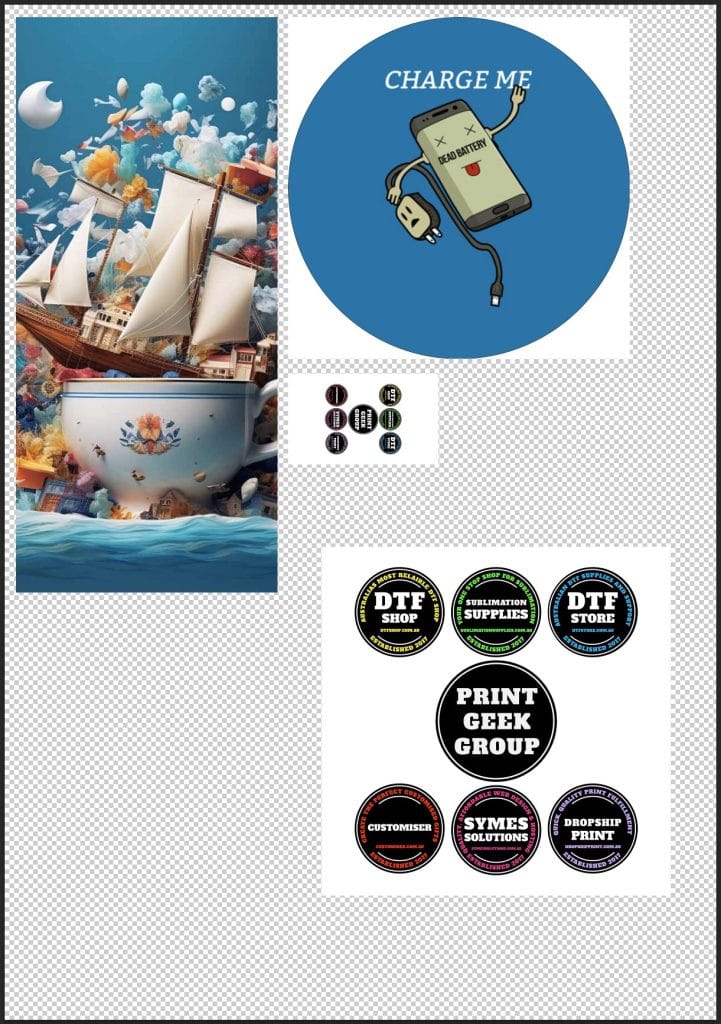
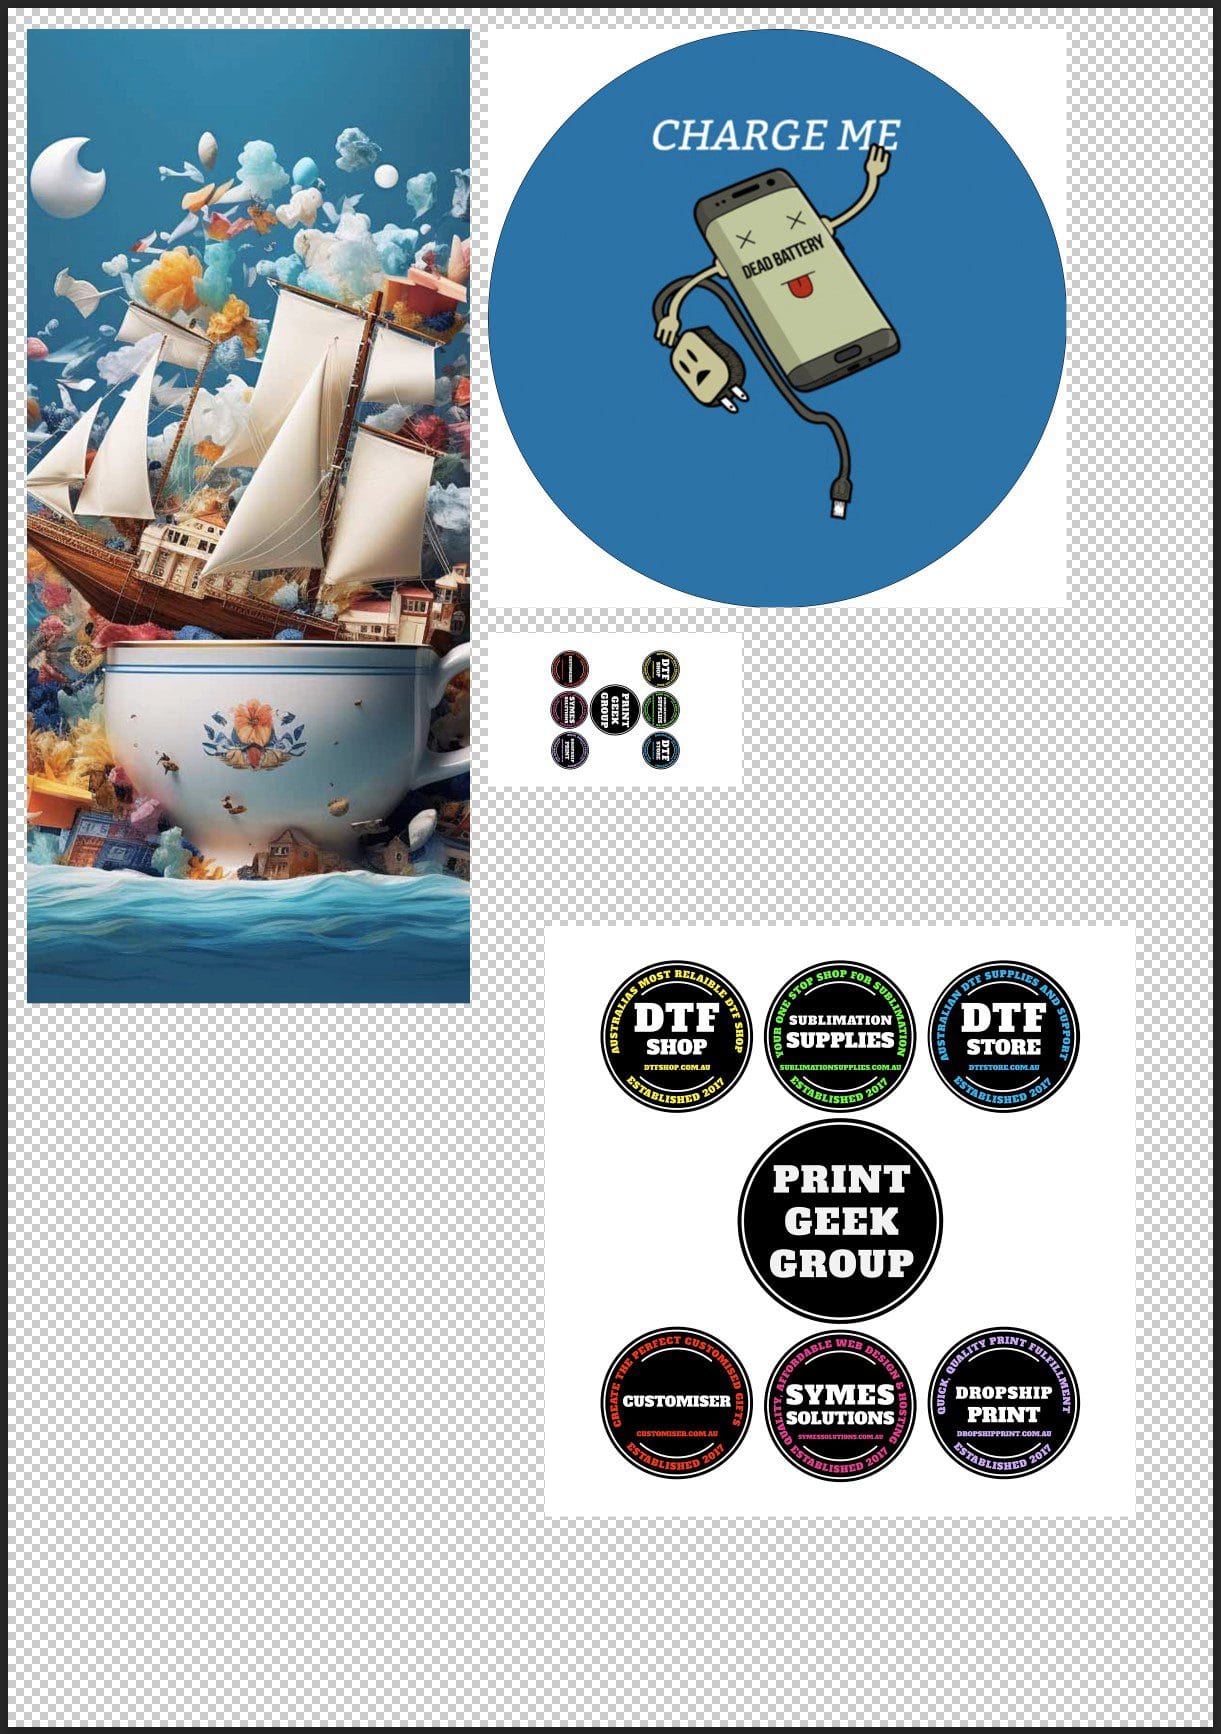
Once the canvas is created, save the Document as something you will remember, like “A4 Blank Sub Sheet Adobe RGB”. Then when you add your print ready items to the canvas, arrange as required (As shown below) to make the most of your printed page, then print.


